
Creating a membership website with WordPress can be a lucrative way to offer exclusive content, courses, or services to your audience. This guide will walk you through the essential steps to set up a membership site using WordPress, from choosing the right tools to configuring your membership options.
Step 1: Choose a Domain and Hosting Plan
First, you’ll need a domain name and a reliable hosting plan. Here are some recommendations:
Domain Name:
- Choose a name that is easy to remember and relevant to your content.
Hosting Plan:
- Select a hosting provider that supports WordPress and offers good performance and support. Some popular options include Bluehost, SiteGround, and WP Engine.
Step 2: Install WordPress
Once you’ve set up your hosting, install WordPress. Most hosting providers offer one-click WordPress installations.
Steps:
- Log in to your hosting account.
- Locate the WordPress installer.
- Follow the prompts to complete the installation.
Step 3: Select and Install a WordPress Theme
Choose a theme that suits the look and feel of your membership site. Some themes are specifically designed for membership sites, such as MemberPress or Restrict Content Pro.
Steps:
- Go to the WordPress Dashboard.
- Navigate to
Appearance > Themes > Add New. - Search for a theme, then click
InstallandActivate.
Step 4: Install a Membership Plugin
A membership plugin will allow you to manage memberships, restrict content, and handle payments. Some popular membership plugins include:
MemberPress:
- A comprehensive solution with extensive features and support.
Restrict Content Pro: - A user-friendly option with all the essential features.
Paid Memberships Pro: - A flexible and highly customizable plugin.
Steps:
- Go to the WordPress Dashboard.
- Navigate to
Plugins > Add New. - Search for your chosen plugin, then click
InstallandActivate.
Step 5: Configure Your Membership Plugin
After installing the plugin, you need to configure it to suit your site’s needs.
General Settings:
- Set up basic options like currency, payment gateways (e.g., PayPal, Stripe), and email notifications.
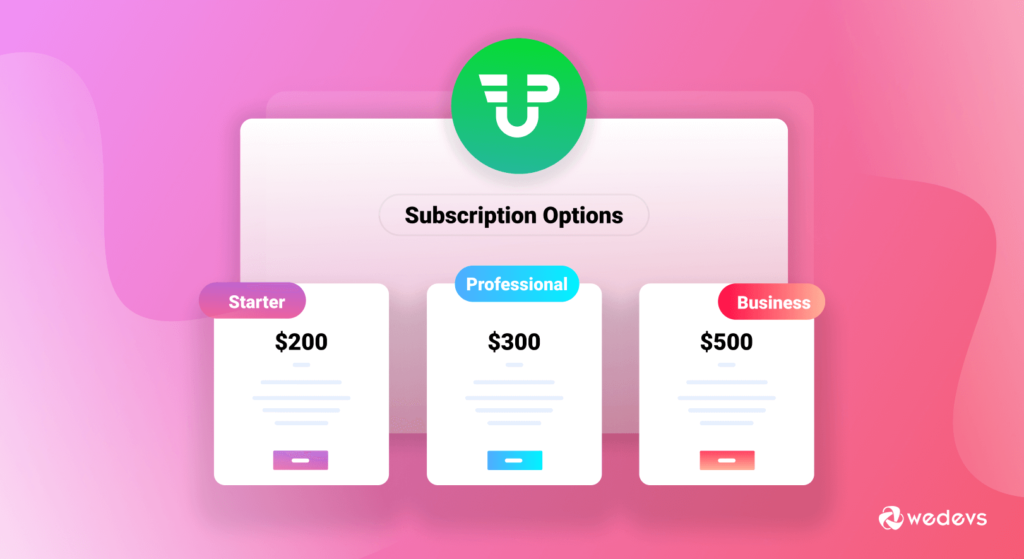
Membership Levels:
- Create different membership levels with varying access and pricing. For example, Basic, Premium, and VIP.
Content Restriction:
- Define which content is accessible to each membership level. You can restrict posts, pages, categories, and more.
Step 6: Set Up Payment Gateways
To accept payments for memberships, you need to configure your payment gateways. Most membership plugins support popular gateways like PayPal and Stripe.
Steps:
- Navigate to the plugin settings.
- Locate the payment gateway settings section.
- Enter your API keys or other required credentials for the payment gateway.
- Save the settings.
Step 7: Create Membership Content
Create the content that will be accessible to your members. This can include blog posts, pages, courses, downloadable files, and more.
Steps:
- Create a new post or page.
- Add your content.
- Use the membership plugin’s options to restrict access to specific membership levels.
- Publish the content.
Step 8: Design the Membership Pages
Design pages that are essential for your membership site, such as the registration, login, and member dashboard pages.
Registration Page:
- Create a registration form where users can sign up for memberships.
Login Page:
- Provide a secure login page for members to access their content.
Member Dashboard:
- Create a dashboard where members can manage their accounts, view content, and update their details.
Step 9: Customize Emails and Notifications
Customize the automated emails and notifications sent to your members. These can include welcome emails, payment receipts, and membership expiration reminders.
Steps:
- Go to the email settings section of your membership plugin.
- Customize the email templates to match your brand voice and style.
- Save the changes.
Step 10: Test Your Membership Site
Before launching, thoroughly test your membership site to ensure everything works correctly.
Steps:
- Test the registration and login process.
- Check payment processing with test transactions.
- Verify that content restrictions are working as expected.
- Ensure that emails and notifications are sent correctly.
Step 11: Launch Your Membership Site
Once you’re satisfied with the setup and testing, you can launch your membership site. Promote it through your existing channels, such as your email list, social media, and blog.
Steps:
- Remove any coming soon or maintenance mode plugins.
- Announce the launch to your audience.
- Monitor the site for any issues and make adjustments as needed.
Additional Tips
- SEO: Optimize your site for search engines to attract more visitors.
- Security: Use security plugins to protect your site and member data.
- Support: Provide excellent customer support to retain members and address their concerns promptly.
- Analytics: Use analytics tools to track member activity and site performance.
Conclusion
Creating a membership website with WordPress involves several steps, from selecting the right domain and hosting to configuring a membership plugin and creating exclusive content. By following these steps, you can build a successful membership site that offers valuable content to your members and generates recurring revenue for your business. With the right tools and strategies, your membership site can become a thriving community and a significant part of your online presence.